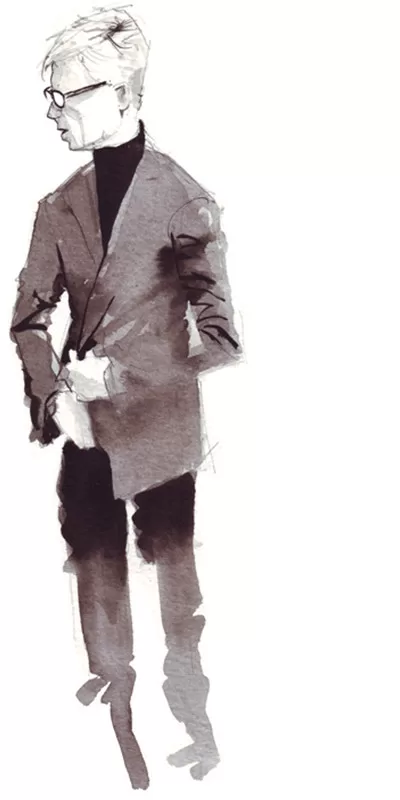
This year, I’ve been posting daily sketches on instagram and have finally recorded one from start to finish. So I decided to put together a short guide about how I make a fashion illustration with ink.


The Paper
For ages I had a bad habit of sketching on any old sheets of paper in the studio. The problem with this is it takes time to organise and store them sensibly, otherwise things get lost or stashed away in a drawer and forgotten.
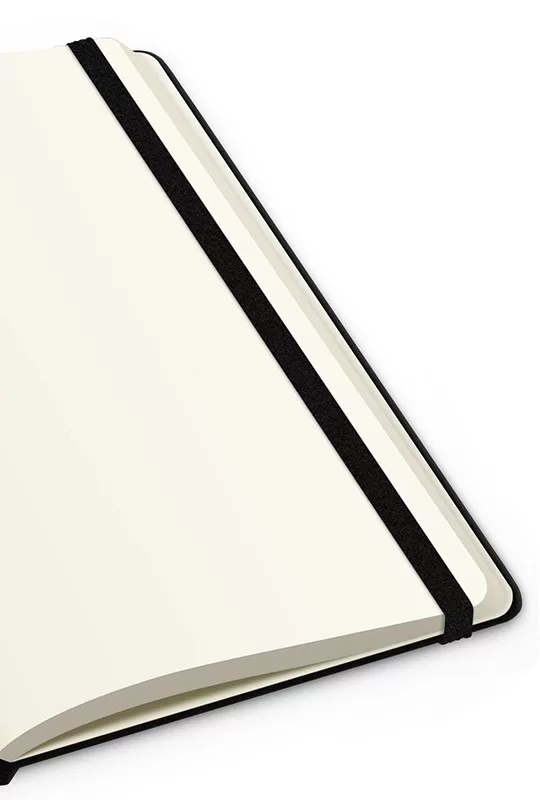
Instead I now have a shelf full of sketchbooks which is a lot tidier, and makes sketches much easier to find again. They’re a mixed bunch but I do prefer Moleskine as they are better bound and therefore a bit more durable. Their standard sketchbooks are fine for pencil & pen, but don’t handle wet media so well. So for this type of work I use the A4 watercolour albums from their folio range.

Using Ink
I don’t know if this is just me, but I sometimes find that Indian inks can look a little brown once dried. So lately I’ve been using Daler & Rowney’s Acrylic Artist’s Ink. Its finish seems to be a bit more blue, and produces a fantastic black when used undiluted. It also comes with a pipette to save ink, and is also handy to draw with.
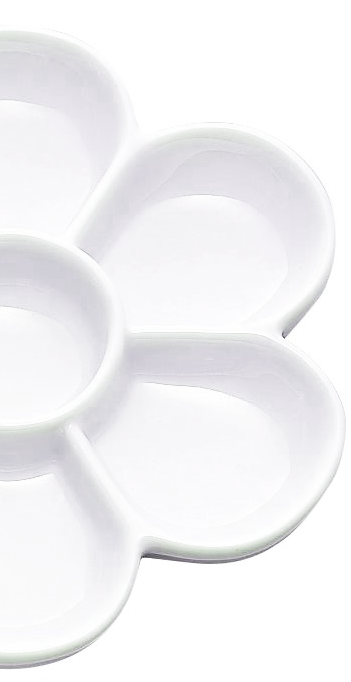
I separate the ink in my pallet as follows;
Pure
Undiluted ink for the dip-pen. Also used for confident gestures and the darkest areas with brushes.
Medium
Diluted ink with water, with a mix ratio of somewhere between 50% and 25% ink to water. This is used towards the end of the illustration when I know where everything is and want to add more contrast.
Light
This is taking the brush with medium mixed ink and dipping it in some water. Used to mark out lines I might not be confident about, or to make the lightest of washes when starting out. These are then built up layer upon layer.
PENS,BRUSHES & PENCILS
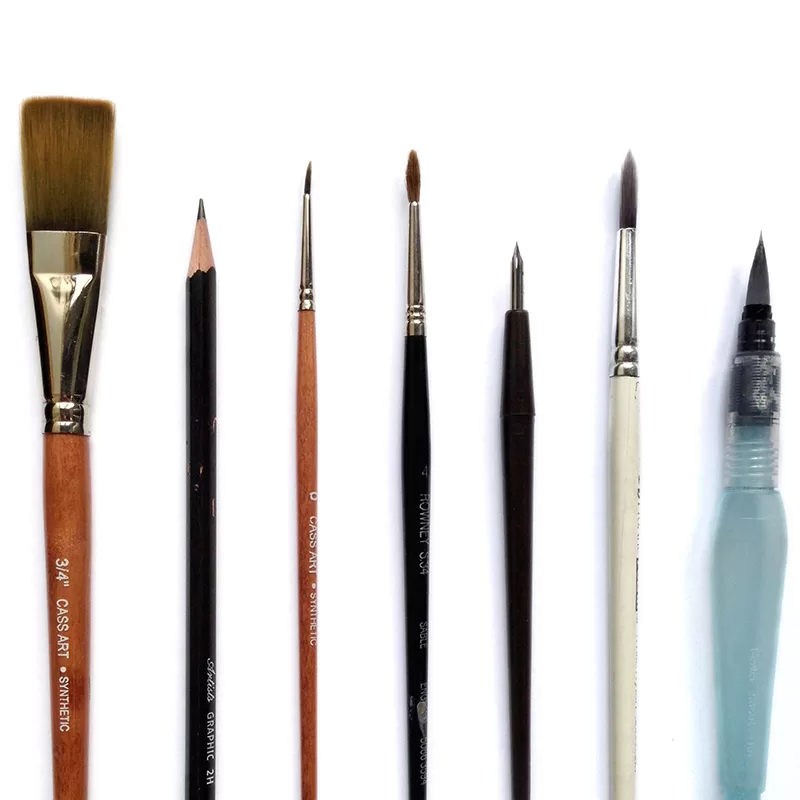
Firstly I sketch out the image with a fairly light pencil. HB, maybe a 2H. Normally I wouldn’t touch anything harder than 2B but for these kind of images, I want the ink to do the work.
I use a variety of fairly small brushes to add ink to the piece. I tend to separate the brushes according to strength of ink so one will be for undiluted ink whereas another will be almost all water. Wide brushes are handy for covering large areas but can also make interesting textures when used in a dabbing motion.
The aquabrush pen (far right) is used to dilute & bleed wet ink on the paper. You fill it with water and control its flow by squeezing the chamber. If you are into working like this, I really recommend getting yourself some of these.
Tissue is used to stop the paper getting too wet or to lift of a colour that is getting too dark. I often wipe a brush dry and then use it again on wet areas to move the ink around and take of any excess.

Thanks for checking out making a fashion illustration with ink, check out the video below of how the sketch came together. If you want to see more, make sure you subscribe to my You Tube channel.
You Tube Channel